- /
- Gatsby/
- How to Install Gatsby on MacOS?
In this tutorial, we will be installing and discussing all the applications needed to run Gatsby site which includes NodeJS, Git, Gatsby CLI and Visual Studio Code as our IDE. We will create a new Gatsby site from scratch without plugins installed and explain all the default files and directories of Gatsby site.
At the end of this tutorial, you will learn the following:
- NodeJS - Open-source back-end javascript runtime environment which will be used when we run Gatsby.
- Git - is a free open-source distributed versioning tool which we will be used to track changes to our code and also used to clone free Gatsby repo
- Gatsby CLI - which will be used to create new site, run, build and serve our Gatsby site
- Visual Studio Code - this will be our IDE where we right our code, run, build and serve Gatsby site locally
- Create new Gatsby site
Install NodeJS
Open NodeJSNodeJS is an open-source back-end javascript runtime environment which will be used when we run Gatsby. Before javascript can only run on a browser but using NodeJs, we can execute it outside of a browser.
To download NodeJS, go to their website Open https://nodejs.org/en/ and choose the latest recommended version with LTS (Long Time Support). Using Gatsby 5, you need to install version 18 or higher.
After downloading, go to that file and double click to install. Continue until installation complete.
NPM (Node Package Manager)
Open NPMNPM stands for Node Package Manager which is the default package manager for Javascript runtime environment Open NodeJSNodeJS. NPM is free and has become the center of Javascript code sharing which is is the worlds largest software registry.
Notice that when you installed NodeJS, NPM will be automatically installed. To verify if you have successfully installed NPM, open your terminal and copy the code below.
If you want to check all packages, just go to their website, Open https://www.npmjs.com/https://www.npmjs.com/ and try to search Gatsby. You will see different packages that you can download using npm in command line.
Install Git
Open https://git-scm.com/https://git-scm.com/ is a free open source versioning tool which is widely used by developers. Git helps us maintain different versions of our code. Git also allows different developers to work in one project and able to create their own version and merge it into one single production ready state.
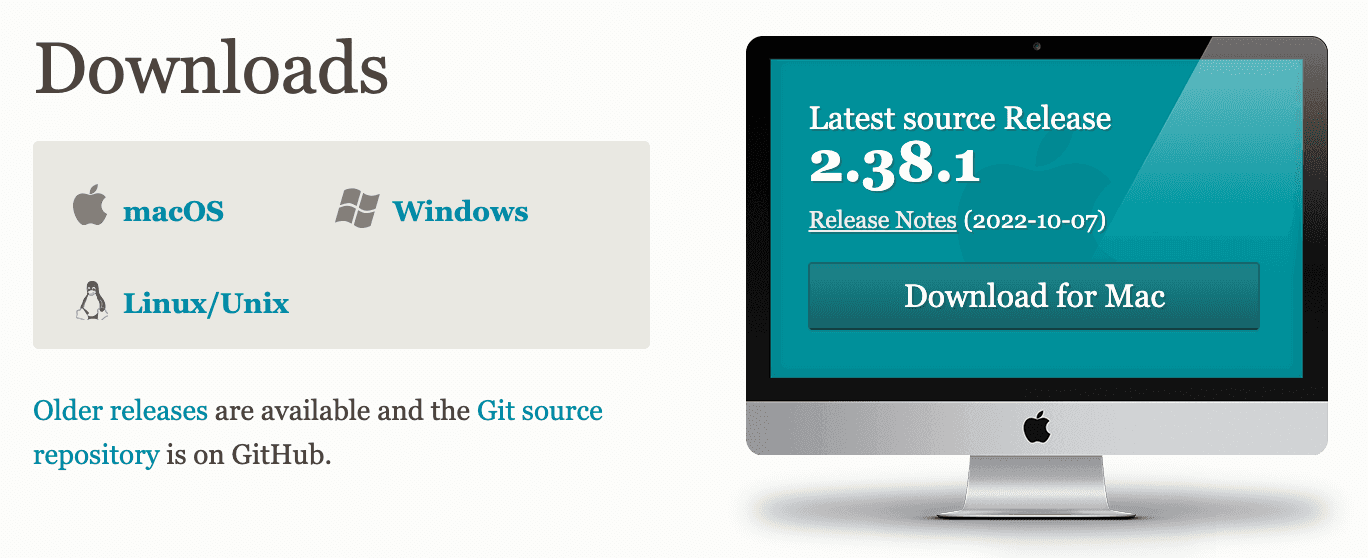
To download Git, go to Open https://git-scm.com/downloadhttps://git-scm.com/download and choose the operating system you want. Since this tutorial uses Mac OS, so I will choose MacOS or go directly to this link Open https://git-scm.com/download/machttps://git-scm.com/download/mac.

Install Homebrew and Git
Open HomebrewHomebrew is a free and open-source software package management system that allows users to install applications using command-line on Mac OS and Linux operating systems. To install homebrew, copy the code below and paste to your terminal and hit enter to download.
To verify if you have successfully installed brew, type in terminal brew -v and hit enter. Once verified, your'e now ready to install git. Copy the code below and paste it in your terminal.
To check if we successfully installed git, let's run command git -version.
Install Gatsby CLI
Open Gatsby CLIGatsby CLI which will be used to initialize, build, develop and serve a gatsby site. Gatsby CLI is an npm package so we can use npm to install it. To install copy the code below and run using terminal.
To check if we have successfully installed Gatsby cli, run this command gatsby -v.
Install Visual Studio Code
Visual Studio Code is a source-code editor made by Microsoft. We will install this application which will be our IDE. To download, go to Open https://code.visualstudio.com/https://code.visualstudio.com/ and click download.

Based on my experience, it is a very nice application made by Microsoft due different extensions available for every programming languages which will make your coding easier.
Project Overview
Before we will create a new Gatsby site, first let's discuss the project overview. The website that we will be creating is all about photography website named ShootAce. The homepage consist of a header, hero image, about us, services, gallery, video, contact form and lastly, the footer. To check the design, click this link Open https://ajscript.com/web/image/627-babf5fc9/homepage.jpg?access_token=cf096bf0-760e-4e80-bd87-440f9b5fbe00.
While we are creating each part of the website, different web technologies will be introduced like styling, data sources, etc.
Create New Gatsby Site
Now that we have successfully installed all the applications needed, we are now ready to actually create a new Gatsby site. Before we create, first you need to go to the directory you want to save your site. To create, copy the code below and run in our terminal.
It will ask you the name of your site, we will name it as ShootAce. Next is the name of the project, let's make it shoot-ace. Do not add any plugins since we will create it from scratch, hence, we will install them as we go along.
So this are the list of files for our Gatsby site. 3 of this are automatically created since Gatsby is powered by javascript using npm.
Node Modules
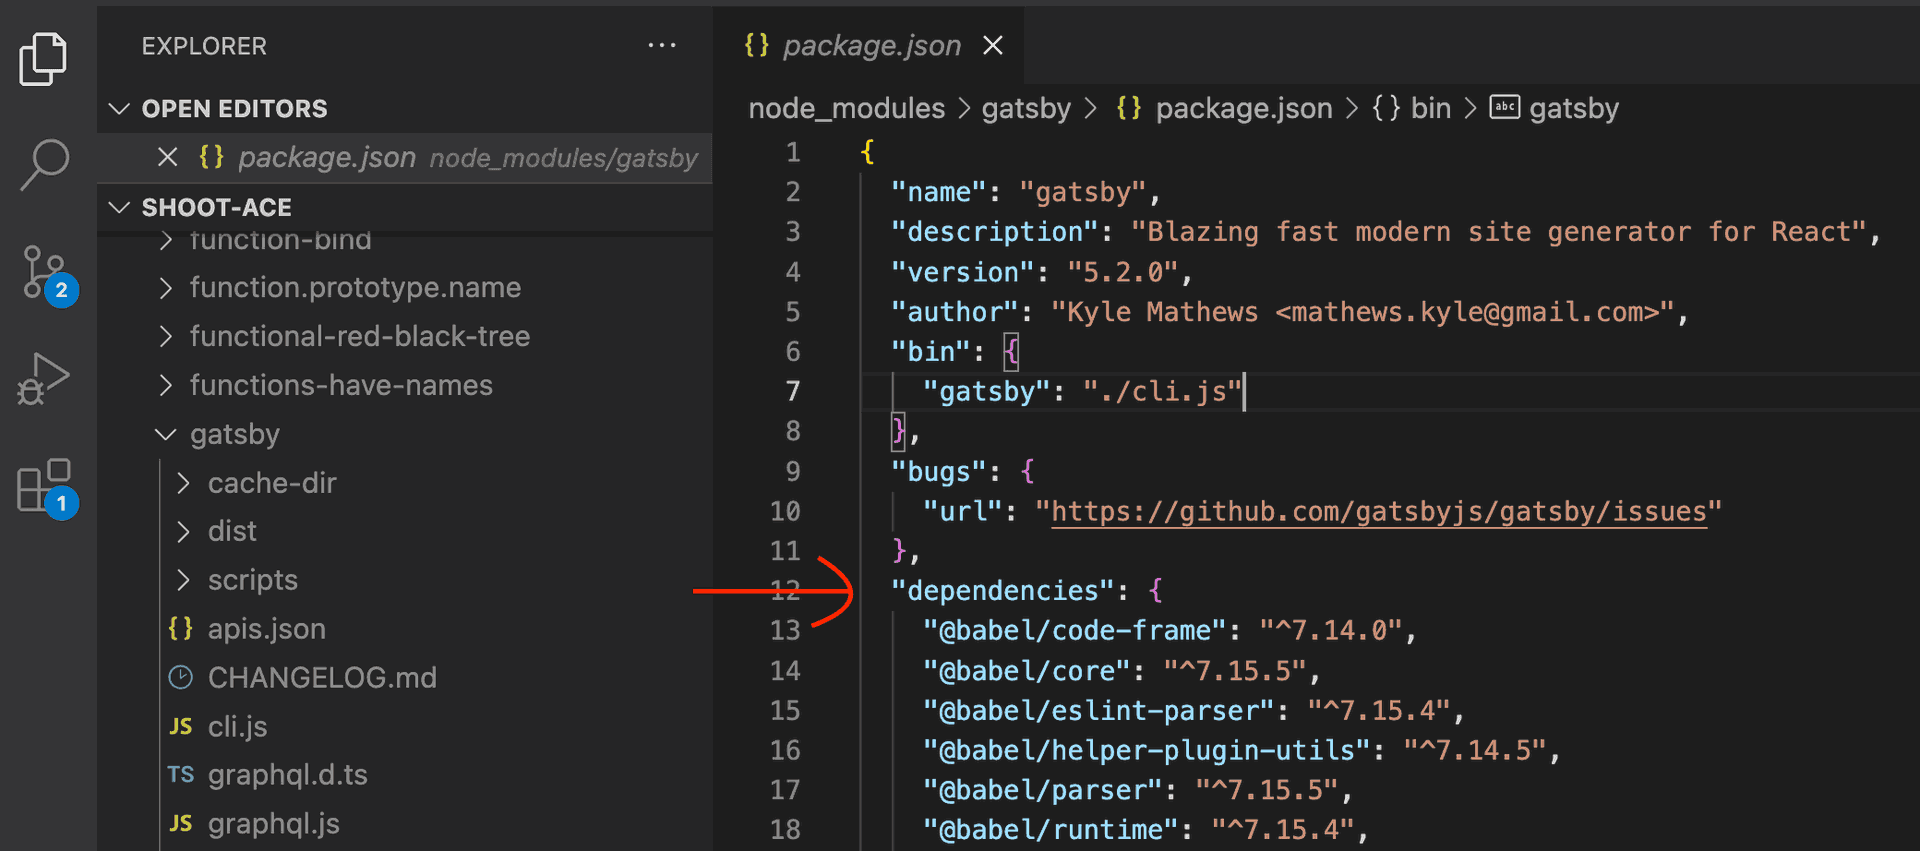
Node_modules is where Open NPMNPM store and install all the packages on your local machine needed for Gatsby to run. Every packages are interconnected to each other since each of them has their own dependencies. If you open one package, you will see the list of dependencies. For example, go inside node_modules folder and look for gatsby folder. You will notice on the image below all the dependencies and these dependencies will be automatically downloaded by NPM.

Package.json and Package.lock.json
The package.json and package-lock.json is also same like node_modules which is important to every project running javascript and NodeJS. It consists of the metadata of the project, scripts and dependencies, etc.
The advantage of this is, if you want to share your project to other developer, you don't need to copy all the dependencies stored under node_modules folder. Using package.json, other developers will just run npm install and it will automatically download the node_modules on their local machine.
Gatsby-config.js
The gatsby-config.js simply stores gatsby site metadata and the list of plugins needed on your site.
.gitignore File
The .gitignore file is used to list all files that you don't need to upload in Github. In this case we need to add node_modules since we don't need it to be uploaded because it is already stored in package.json file.
SRC Folder
The src folder which stores images and pages of our site. Gatsby makes it easier to create new page by just simply creating a new javascript file inside pages folder. Using reactjs alone, you can not do like this easily. By default, Gatsby creates two pages, 404.js for pages not found and index.js for the homepage. Inside src folder, we can also add folders for our components, fonts, styles, api and others.
Cache and Public Folder
The .cache and public folders are automatically created when you run gatsby. The .cache folder is used to speed up the build time when creating static files stored in our public folder and this public folder is the production ready for our site. Since we did not yet run our gatsby site, that's why cache and public folder are not yet showing.
Now that all the default files are explained, we can now run gatsby by running the code below in the terminal. In visual studio code menu, click Terminal and New Terminal to run it directly on our IDE.

Copy the code below and run.

Read next article
How to Use CSS Module in Gatsby JS